Getting Started with ARD
Welcome to Applied Racing Dynamics! This guide will walk you through your first steps with the platform.
Creating Your Account
- Visit https://app.appliedracingdynamics.com/register
- Fill in your details and click Create Account (or use Sign in with Google for one-click setup)
- Check your email for a 6-digit one-time code and enter it on the verification screen to confirm your address — click Resend Code if it doesn't arrive
- Log in to access the platform
Your First Vehicle
Login on https://app.appliedracingdynamics.com/login Once logged in, you'll need to create your first vehicle model.
Using a Template
The quickest way to get started is with a vehicle template:
-
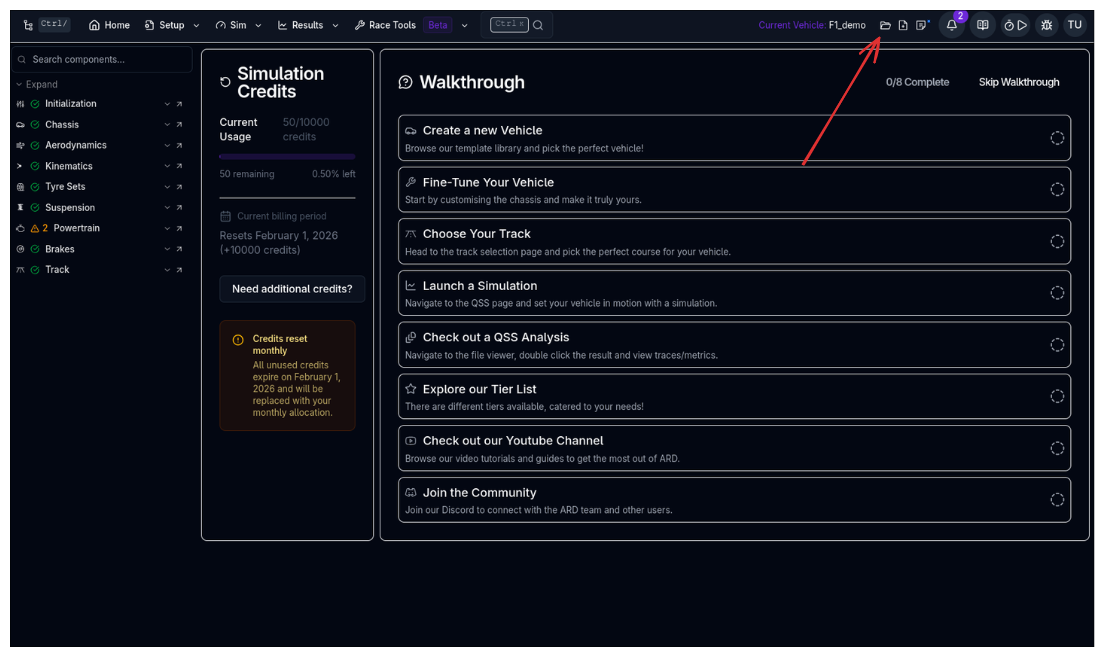
Click the folder icon in the top right setup command palette which will open your setup selector

-
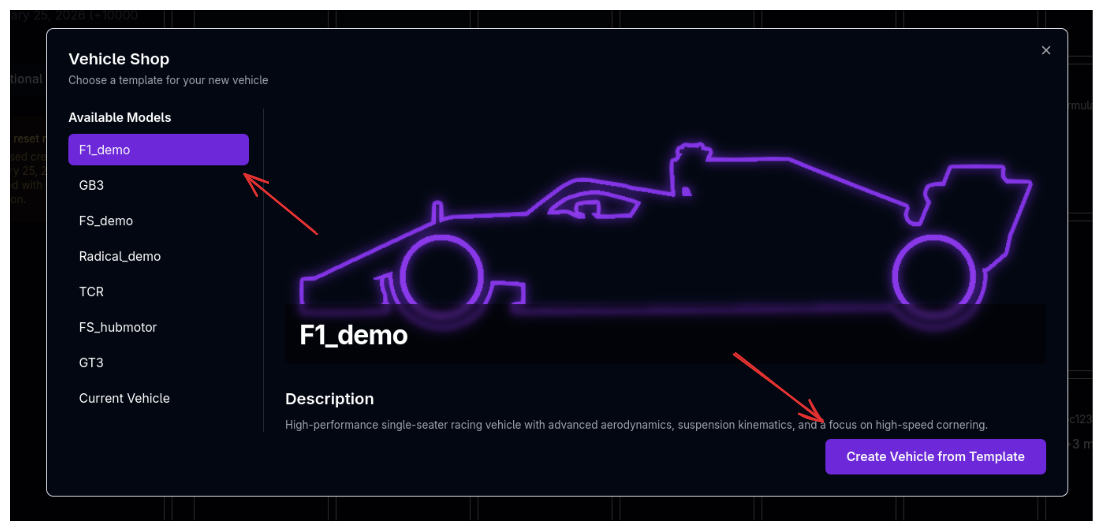
Choose from our pre-configured templates:
- F1 Demo - Formula 1 style vehicle
- GB3 - GB3 open-wheel racer
- Formula Student - FSAE/FS vehicle EV Vehicle
- Radical - Sports prototype
- TCR - Touring car
- Formula Student Hub Motor - FSAE/FS vehicle EV Vehicle Hub Motor configuration
- GT3 - GT3 endurance racer
-
Click Create
Pro Tip
Start with a template that's closest to your actual vehicle. You can customize everything later!
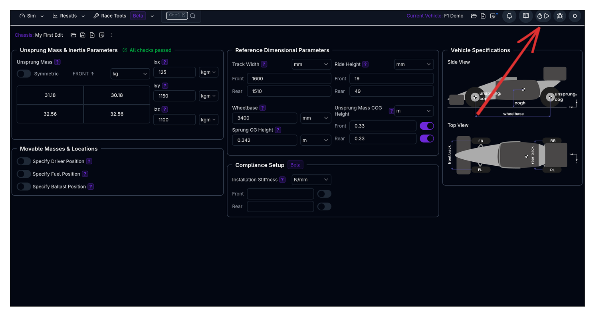
Understanding the Interface
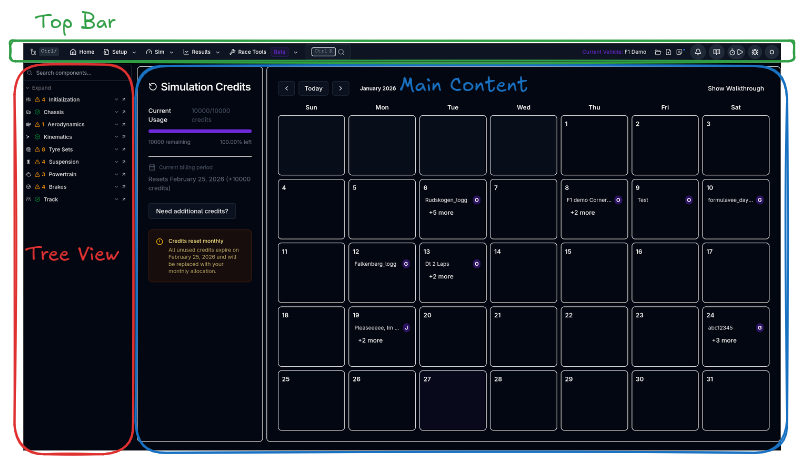
After creating your vehicle, you'll see:
- Left Sidebar - Vehicle component tree showing all subsystems
- Main Page - Main home page showing the calendar view of recent simulations
- Top Bar - Your navigation bar along with your vehicle command palette, and user setting page
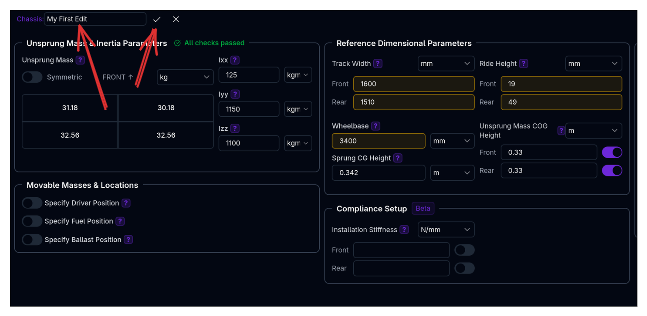
Making Your First Edit
Let's make a simple change to understand how the platform works:
-
Either from the left tree view click on the Chassis chevron or from the top bar click Setup and then Chassis
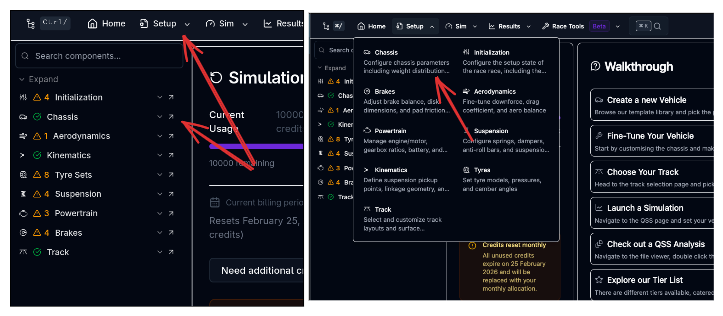
-
Click on the parameters you want to change
- Click Save Setup in the setup command palette
- Give your setup a name (e.g., "My First Edit")
Remember to Save
Always save your changes using the setup command palette or save button! Changing the name will also save the setup.
Running Your First Simulation
Now let's run a simulation to see your vehicle in action:
Quick QSS Simulation
- Click the stop watch in the top right navigation bar
- Select Lap Time under the tab view
- Give the simulation a name (e.g., "My First Simulation")
- Click Run Simulation
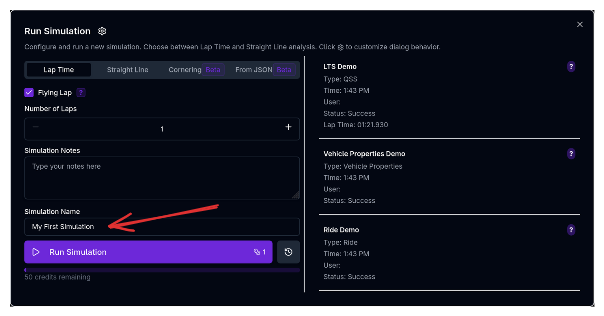
- Wait for the simulation to complete (usually 1-2 minutes)
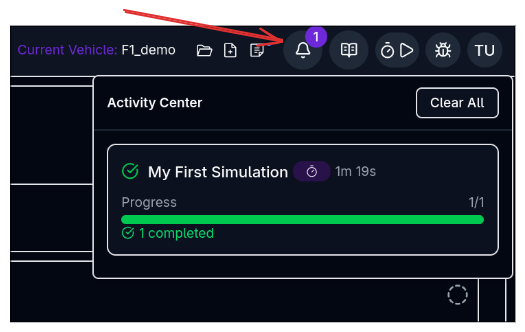
Viewing Results
Once complete you'll recieve a notification in the activity centre, where you can see if the simulation completed or failed
- Click Results in the top navigation bar, and then Result Files
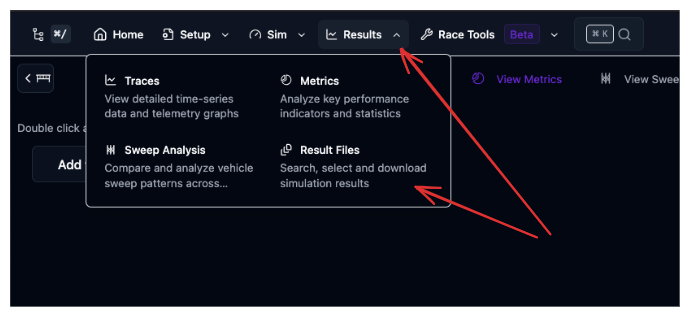
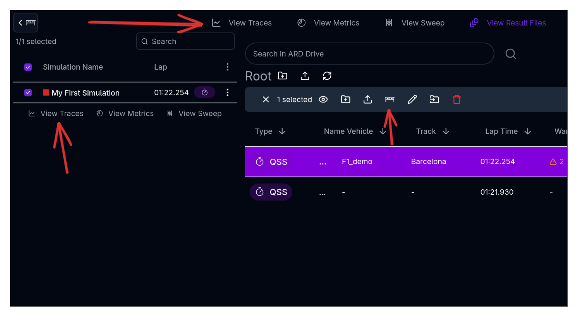
- Select the result file you want to view
- Stage the result file in the Staging Area (double-click, or select and click Stage Sim)
- Click on the View Traces button in the Staging Area, or change to the Traces tab
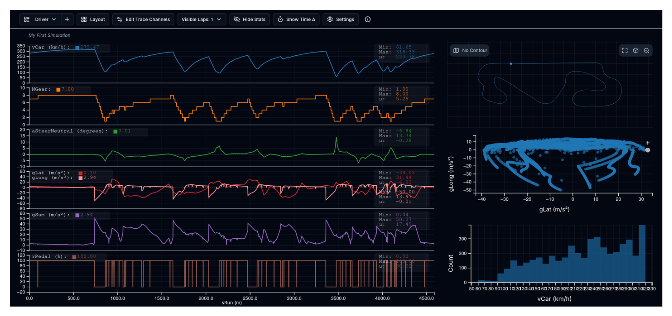
Info
The result viewer lets you create custom layouts, overlay telemetry, and export data. We'll cover this in detail in the Results section.
Next Steps
Now that you've created a vehicle and run your first simulation, explore:
- Vehicle Setup - Learn how to customize each subsystem (coming soon)
- Simulations - Explore other simulation types (coming soon)
- Results & Analysis - Dig deeper into your data (coming soon)
Need more help? Check out our detailed guides or contact support.